

LCP
New member
- Joined
- Jan 14, 2011
- Messages
- 324
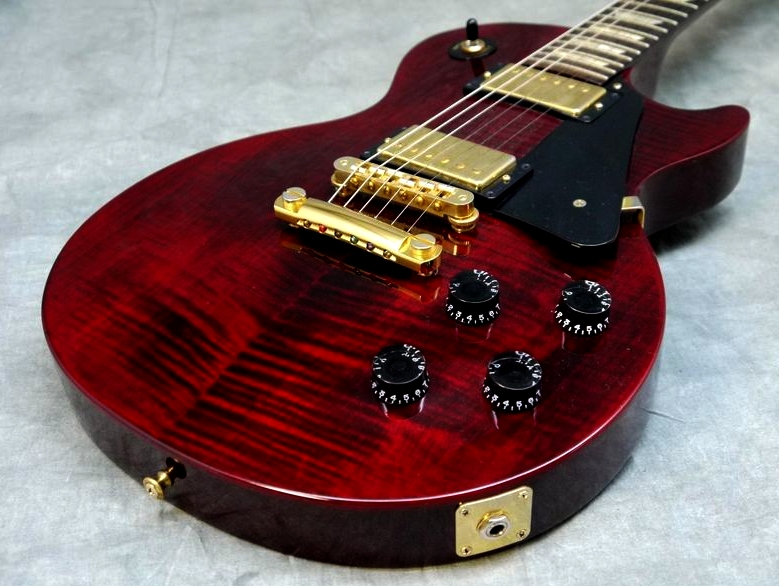
Love the LP Studio! Used to have a wine red chrome one... Sweet!
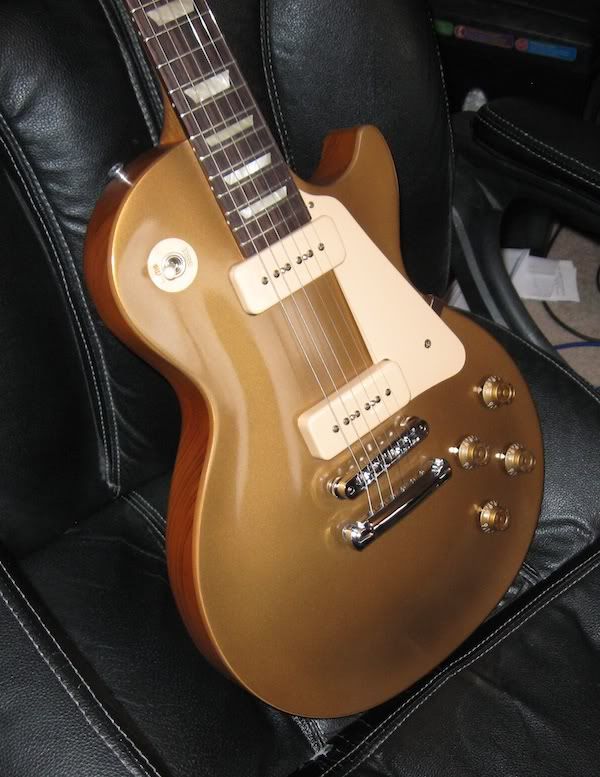
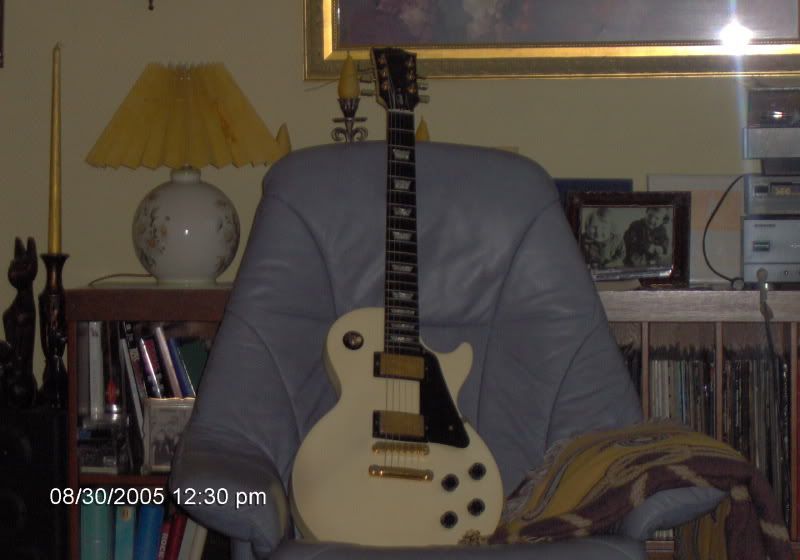
Thank you sir. I did not think that Gibson installed Tone Pros on Studios of any year. Does it look like the intonation screws are proper? By that I mean in the front near the rear pickup? I've never seen a tunomatic type bridge like that. The screws were always in the rear towards the tailpiece. Looks kinda strange to me, but that's the way it was when I bought the guitar. I think the strap locks are Dunlop from what the catalog pictures look like. If anyone can add to this, please chime in. Thanks again
I just picked up a 60s Tribute and it is a great playing and sounding guitar.
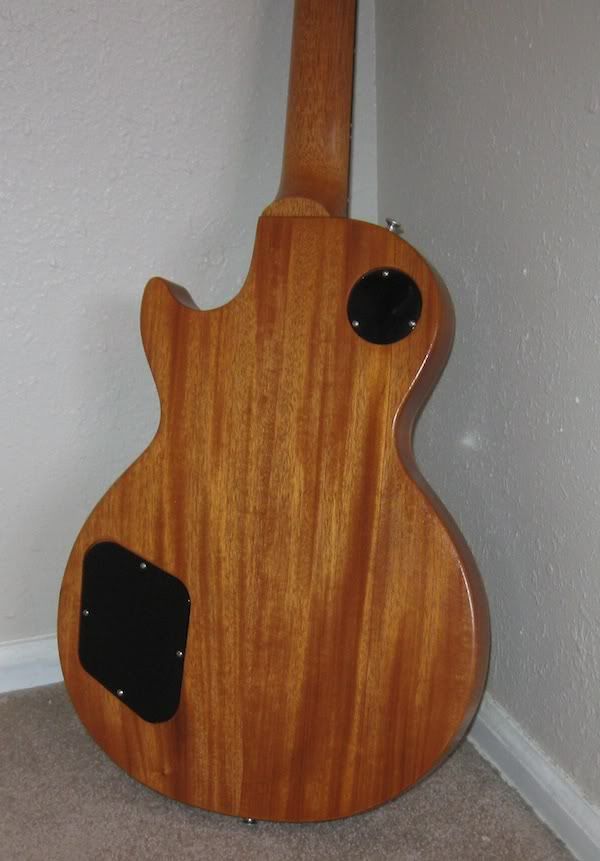
Hi, Nice looking axe. The back looks like a nice solid hunk of wood. Enjoy


")
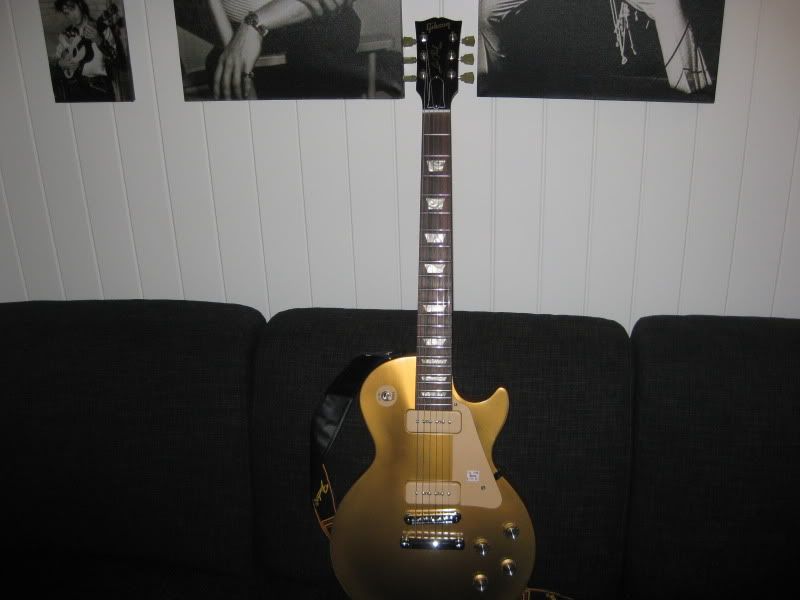
Just finished repainting my Studio. Came out pretty nice.
8.8 lbs
'06 weight relieved with 57 classic and classic + pickups.
Everything else is Gibson factory.
Just finished repainting my Studio. Came out pretty nice.
8.8 lbs
'06 weight relieved with 57 classic and classic + pickups.
Everything else is Gibson factory.
I broke my Studio and need to repaint it.
I'd love to hear more about your paints and technique.


