

montesada
Member
- Joined
- Mar 21, 2008
- Messages
- 713
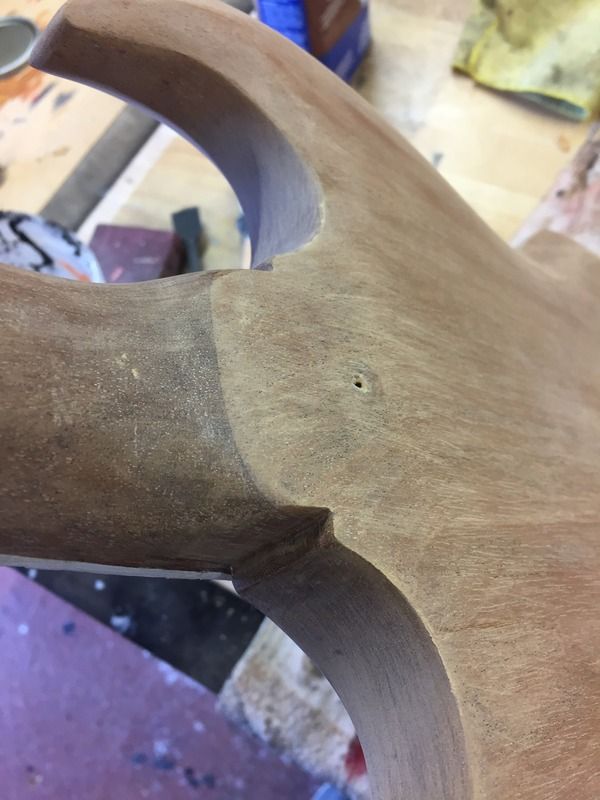
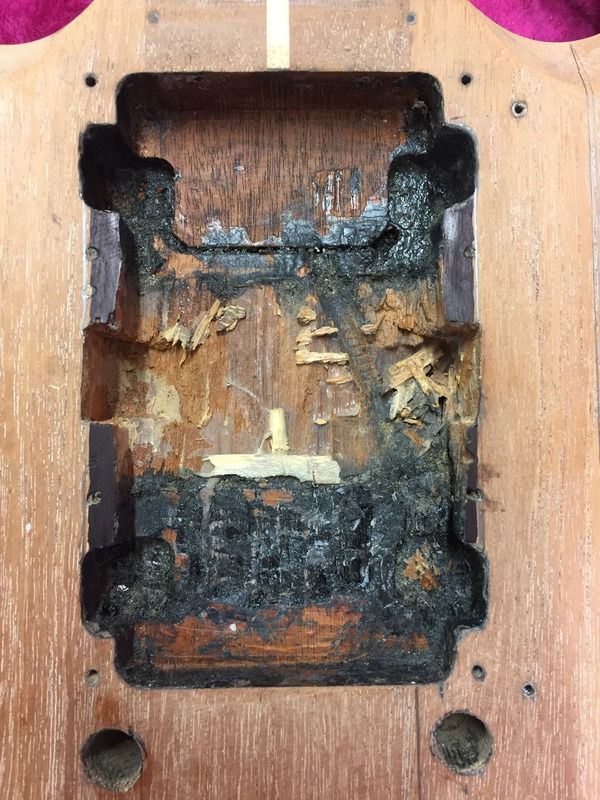
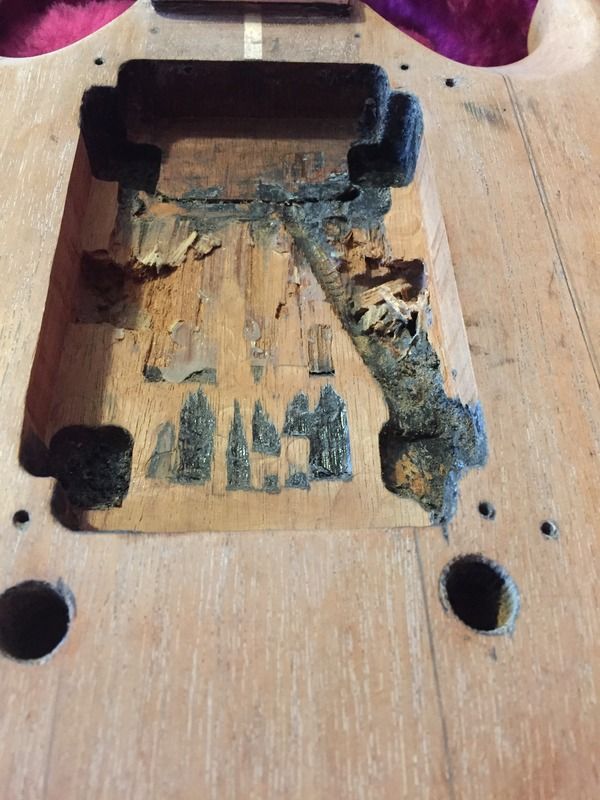
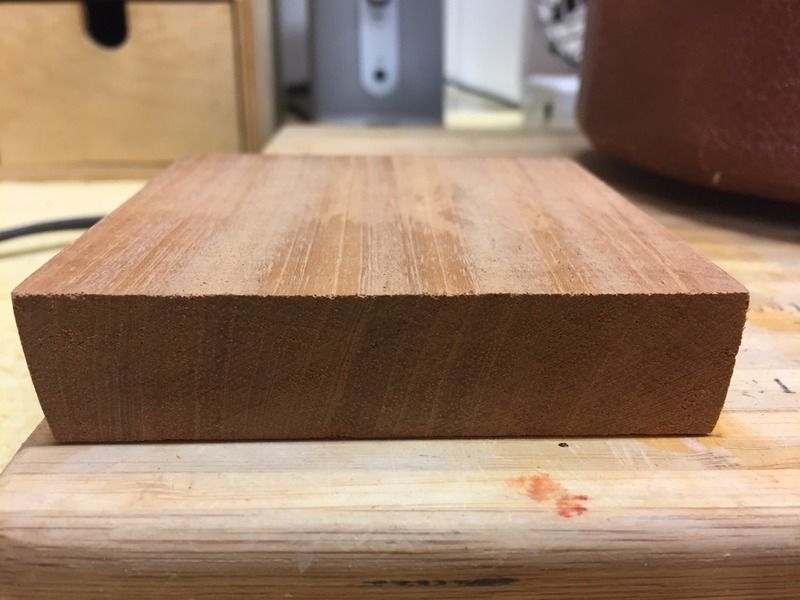
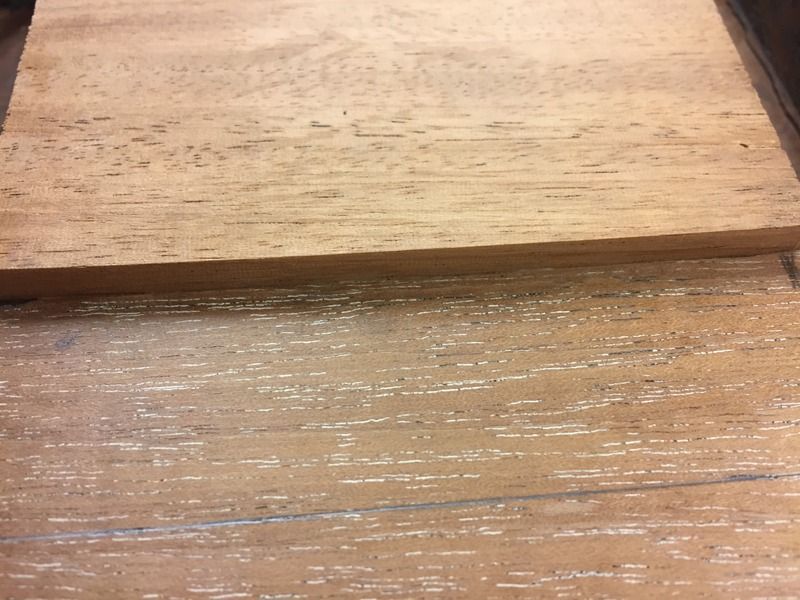
The photo of the heel makes it look like there's about a 3/16" thick piece of mahogany over the whole back...
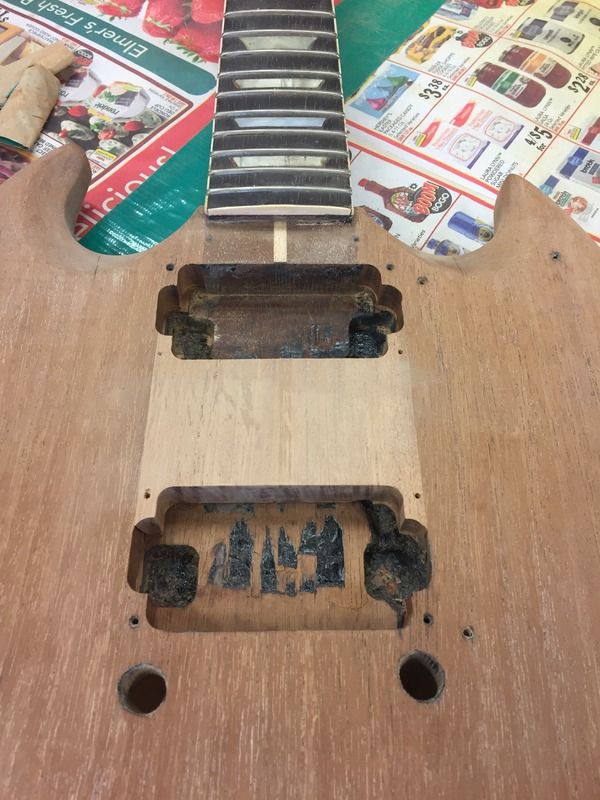
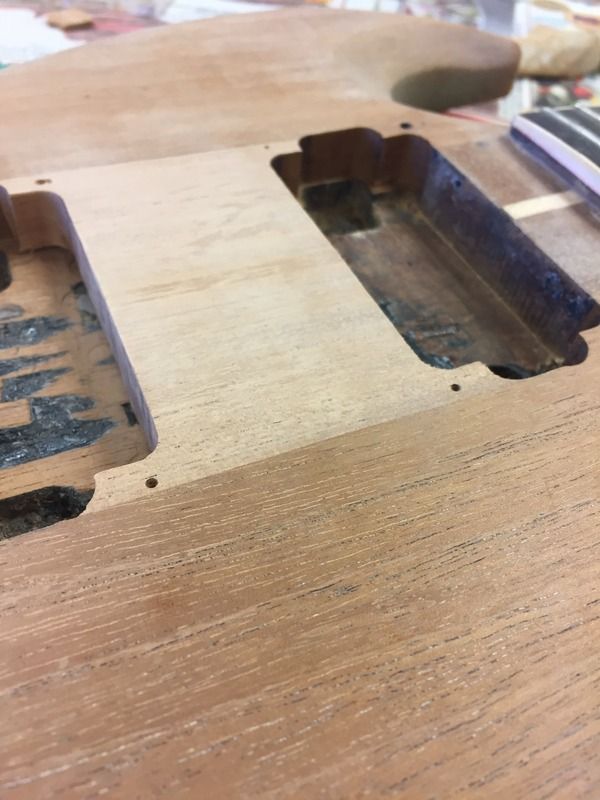
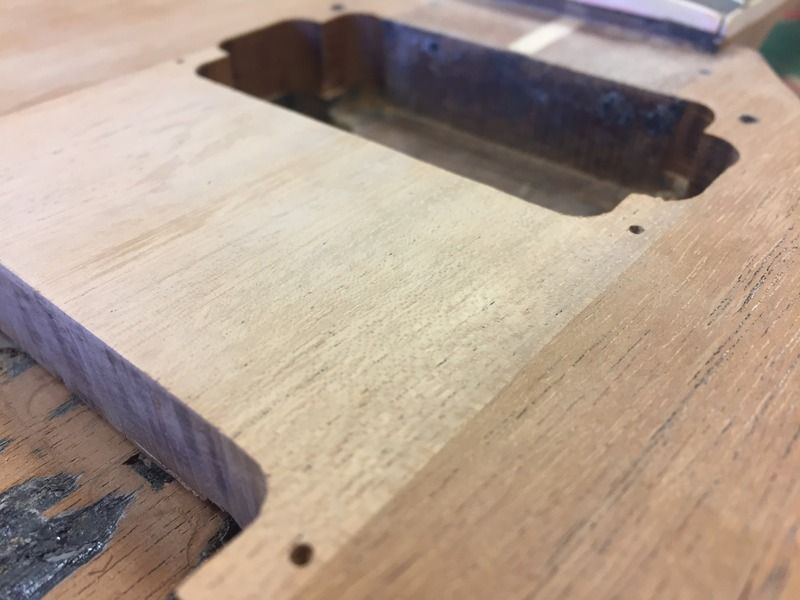
Great work on that wood insert. Will you adjust the bare wood colour pre finishing, and if so, how? Thanks, and keep up the progress photos please.
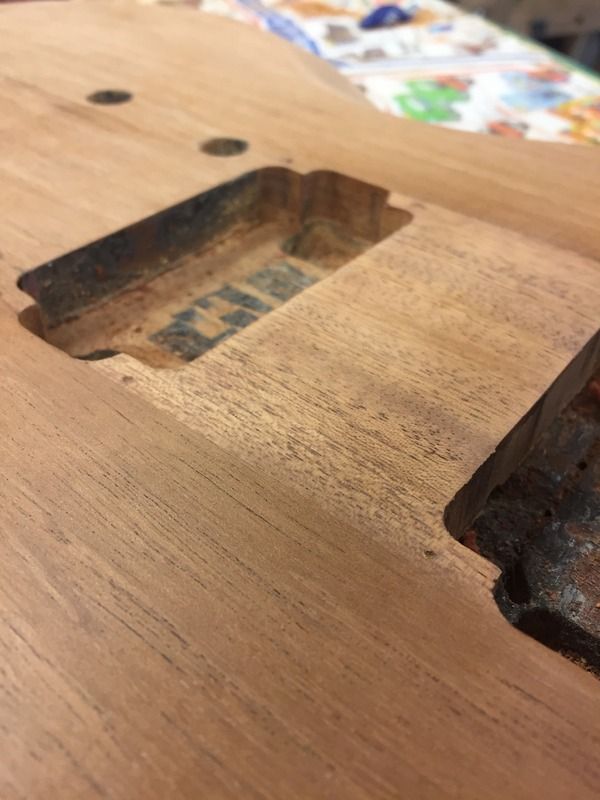
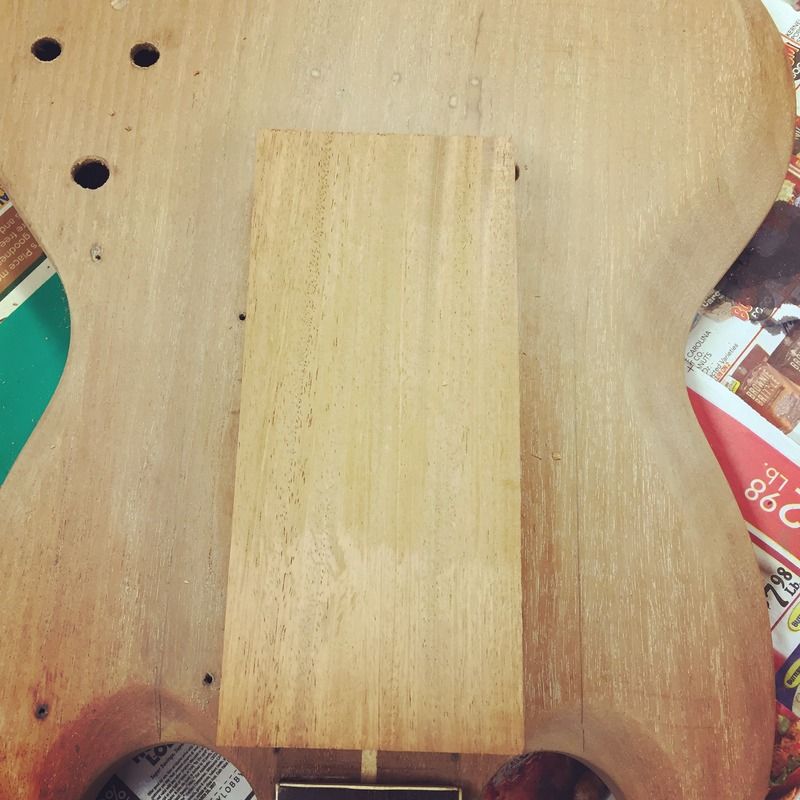
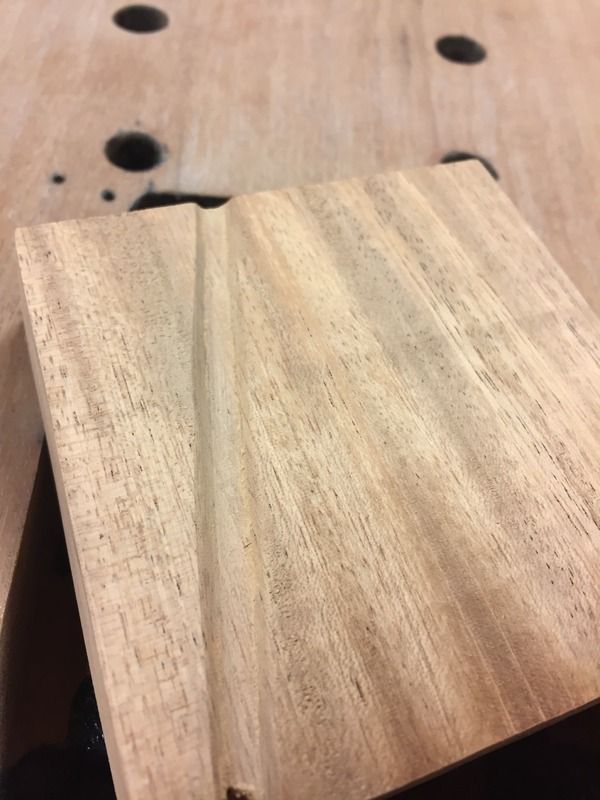
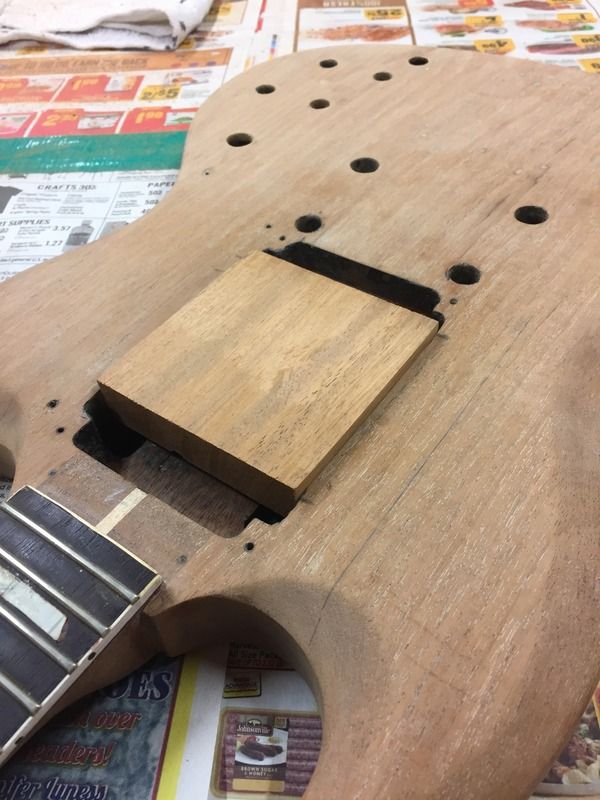
Good question. I will do as much as I can to darken the fill wood to match the original before i do any grain filling. It's not an exact science, more trial and error with a mix of oils, a little dye, sawdust, etc. I also use a blade to trace new grain lines that connect to the original body at the edges of the fill. This way when I mix some cherry dye into grain filler, it will sit down in those new lines and make the edge of the join less apparent. I got a bit of a start on this already, actually. Even though I used proper old growth mahogany, the shades of the raw wood will rarely be a perfect match. A little creativity and I can make it much less apparent once the finish is completed though.
Oh yeah, that is a killer idea..you could also get some checking that offsets it, and breaks up any straight lines, it would be invisible.
")